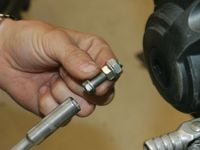
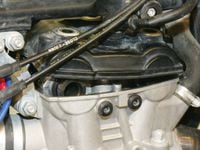
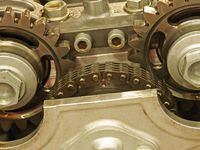
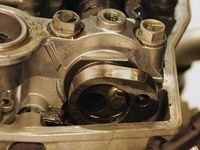
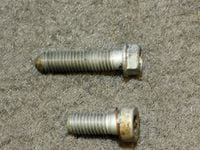
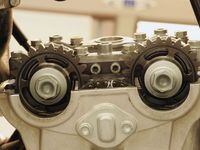
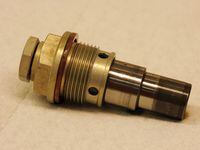
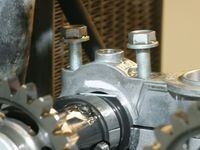
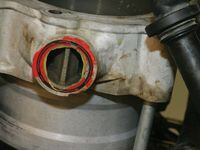
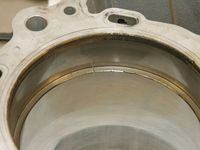
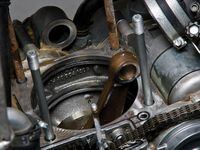
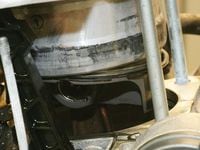
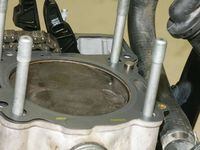
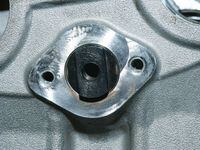
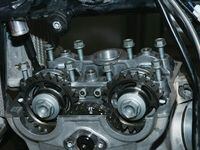
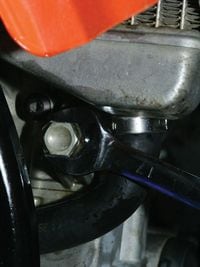
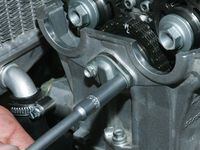
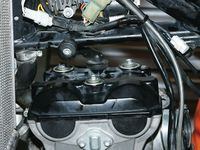
Now that KTM uses the late-model DOHC engine in SX and XC 450s and 505s, the numbers of these motors in use is rapidly growing and folks need to start looking inside these engines. Dirt Rider has pulled down an SX and an XC 450, and the internals were in essentially perfect condition. The sole exception was ring end gaps were both well beyond tolerance. Neither bike expelled smoke from the exhaust, but the SX started sluggishly.As always, this article isn’t intended to replace a manual but to supplement it. In addition to the normal tools and a feeler gauge set, you’ll need a small torque wrench that allows accurate setting under 10 foot-pounds. You’ll also need a few Torx bits.Thoroughly wash the bike, then remove the seat, fuel tank, exhaust and subframe. You can loosen the top subframe bolts, remove the bottom ones and tip up the subframe. That way, none of the battery cables needs to be disturbed. Drain the oil and the coolant before starting.The valve clearance will give an indication of where to concentrate your efforts. If the valves check out, then the head should require little attention. If the valves are extremely tight, the head will need to be disassembled and inspected.It isn’t shown in the photos, but all parts of a four-stroke should be oiled during reassembly with motor oil. Use assembly lube on the cam bearing surfaces and lobes.It’s time to button up everything that was removed to access the engine. Make absolutely sure to remove the bolt locking the crankshaft! Replace it with the original Allen bolt and copper washer. Take special care with the coolant hoses and clamps, the throttle cable routing and the carburetor clamps and vent hoses. Fill the coolant and put oil in the engine. Start the engine and look for any leaks. If everything looks good, break in the bike for a couple of heat cycles, then go ride.
Latest
/cloudfront-us-east-1.images.arcpublishing.com/octane/ISFX5A3DMVFTTIQ5KRPWB3H3ZA.jpg)
/cloudfront-us-east-1.images.arcpublishing.com/octane/GIHTRB2NO5CVZOI67OA7MZIIUA.jpg)
/cloudfront-us-east-1.images.arcpublishing.com/octane/OQTOGJIXLFGE3FJ6VUUOGXGA4U.jpg)
/cloudfront-us-east-1.images.arcpublishing.com/octane/PDTZXU7SXNDE3KYRJDRDBTBBEM.jpg)
/cloudfront-us-east-1.images.arcpublishing.com/octane/KR3TLUJC2RE3ZNASYNW4SPX5VU.jpg)
/cloudfront-us-east-1.images.arcpublishing.com/octane/T4SIVQJODRBGHCGMKHWAF5QYPM.jpg)
/cloudfront-us-east-1.images.arcpublishing.com/octane/KGUTD4RIKVBDTMQEDRWG63ZQUY.jpg)
/cloudfront-us-east-1.images.arcpublishing.com/octane/JT6FKWO56FAELEFKPOB4U6TBMA.jpg)
/cloudfront-us-east-1.images.arcpublishing.com/octane/DWVLPKLAJBCFXOKGPHQWEBUGEI.jpg)
/cloudfront-us-east-1.images.arcpublishing.com/octane/OZJOWLCCVJCIFGVQIDB34EB4TU.jpg)
/cloudfront-us-east-1.images.arcpublishing.com/octane/AGTIQCOQ5FAPVI4GMUWN6QRM5U.jpg)
/cloudfront-us-east-1.images.arcpublishing.com/octane/PPGYEZMMKZGTDABF2L7MW6BN2M.jpg)
/cloudfront-us-east-1.images.arcpublishing.com/octane/7OAVJWJ4L5CJ5CVKU5OIDTNFDY.jpg)
/cloudfront-us-east-1.images.arcpublishing.com/octane/H2B7EYVAMNFK7EVI43FYT4UBTA.jpg)
/cloudfront-us-east-1.images.arcpublishing.com/octane/B6J7SGBFSZGG5JEFTA42E3IPEE.jpg)
/cloudfront-us-east-1.images.arcpublishing.com/octane/IUQVVLPE3VDMHC4CMEXYFSZ4FY.jpg)
/cloudfront-us-east-1.images.arcpublishing.com/octane/7GDTGSDPT5BRNMTFMVUEJHSPYE.jpg)
/cloudfront-us-east-1.images.arcpublishing.com/octane/FFK6UR7TLNHCXAN2CZT3N36L5Y.jpg)
/cloudfront-us-east-1.images.arcpublishing.com/octane/WWMRRCKYPJEMTNTS7ZTIKGKP7M.jpg)
/cloudfront-us-east-1.images.arcpublishing.com/octane/FJJKMZ34KJGSXGSPGRQVAE3U2A.jpg)
/cloudfront-us-east-1.images.arcpublishing.com/octane/DRRAFETFLJGWLCOSBZTIFYL7FM.jpg)
/cloudfront-us-east-1.images.arcpublishing.com/octane/QIHVKX7K6RBAFMHZCZYLJ3RDHU.jpg)
/cloudfront-us-east-1.images.arcpublishing.com/octane/OZ6NGNKQRNCQ7HO4EHIX5S32RQ.jpg)
/cloudfront-us-east-1.images.arcpublishing.com/octane/NJWC3JHMCZBCTGMC7XSQ4HXDDY.jpg)